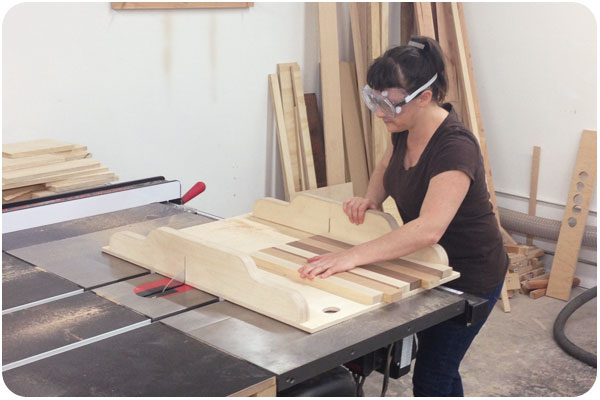
last month, i talked about community woodshop and the first half of our cutting board class. last week i completed the class and came away with 2 nice cutting boards. the first step in finishing up is to trim the uneven edges, which i am doing with a squaring template on the table saw above.
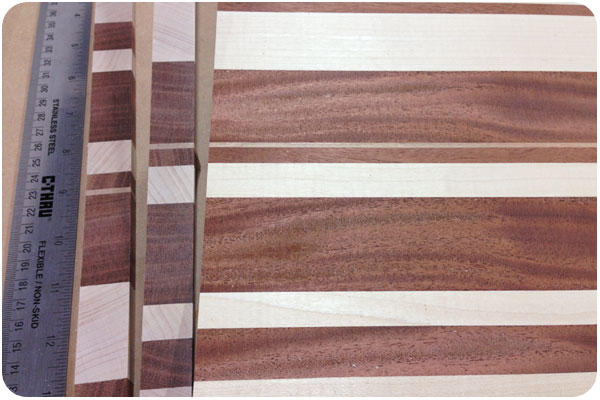
once i got my trimmed pieces, it was time to decide if i would do any cross cuts and flips. the wood grain itself will always look pretty on its own, but i used the trimmed edges to see where they flipped cuts would match up. i decided to cut the board into 5 pieces and flip symmetrically.
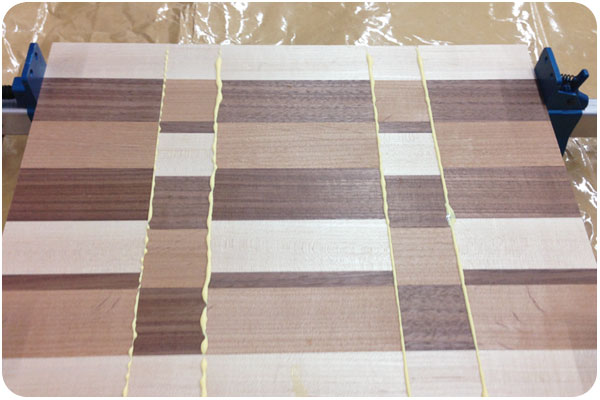
after these final design edits, when the glue is dry, we plane both surfaces and decide on any edge finishes. i decided on simple rounded edges for one, and only one round for the other. then it’s off to the sander to get all surfaces perfectly smooth.
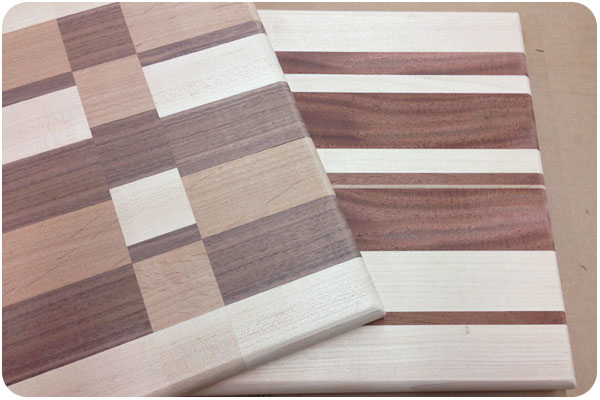
once they’re ready to go, we got out the beeswax. it’s more of a heavy grease that smells like fine bath products and soaks into both wood and your hands, giving both a nice finish. the color of the wood really came alive with this application. i think they look great, but now i’m a little hesitant to take a knife to them. next up, i’ve signed up for basic cabinetry. i can’t wait to see what manner of trouble i can get into there!

